Before you can connect your account to the Algovaro trading system, you need a verified TegasFX account plus the right funded account. Plan about ten minutes of active time, plus the KYC waiting period of a few hours to two business days, plus the time for the wallet deposit (instant for credit card or crypto, one to two business days for bank transfer).
The complete flow at a glance: 1. Register account · 2. First login · 3. KYC identity · 4. KYC proof of address · 5. Fund the wallet (separate deposit tutorial) · 6. Purchase funded account · Copy connection (separate tutorial)
Important: use the partner link
Please make sure you use the registration link your Algovaro contact sent you. You can identify it by the partner ID in the URL. Without the correct partner ID, your account cannot be attributed to Algovaro — and you won't get the right setup for the copy connection. If your link doesn't contain an ID, message your Algovaro contact and they'll resend the correct link.
What to have ready
The registration link from your Algovaro contact, containing your partner ID
A valid passport or national ID (for KYC)
A current proof of address (gas, electricity, internet bill or bank statement, no older than three months)
An email account you have constant access to — TegasFX sends you several confirmation emails
A payment method for the wallet deposit (credit card, crypto, or bank transfer) — the funded-account purchase is paid from the internal TegasFX wallet
1
Register your account
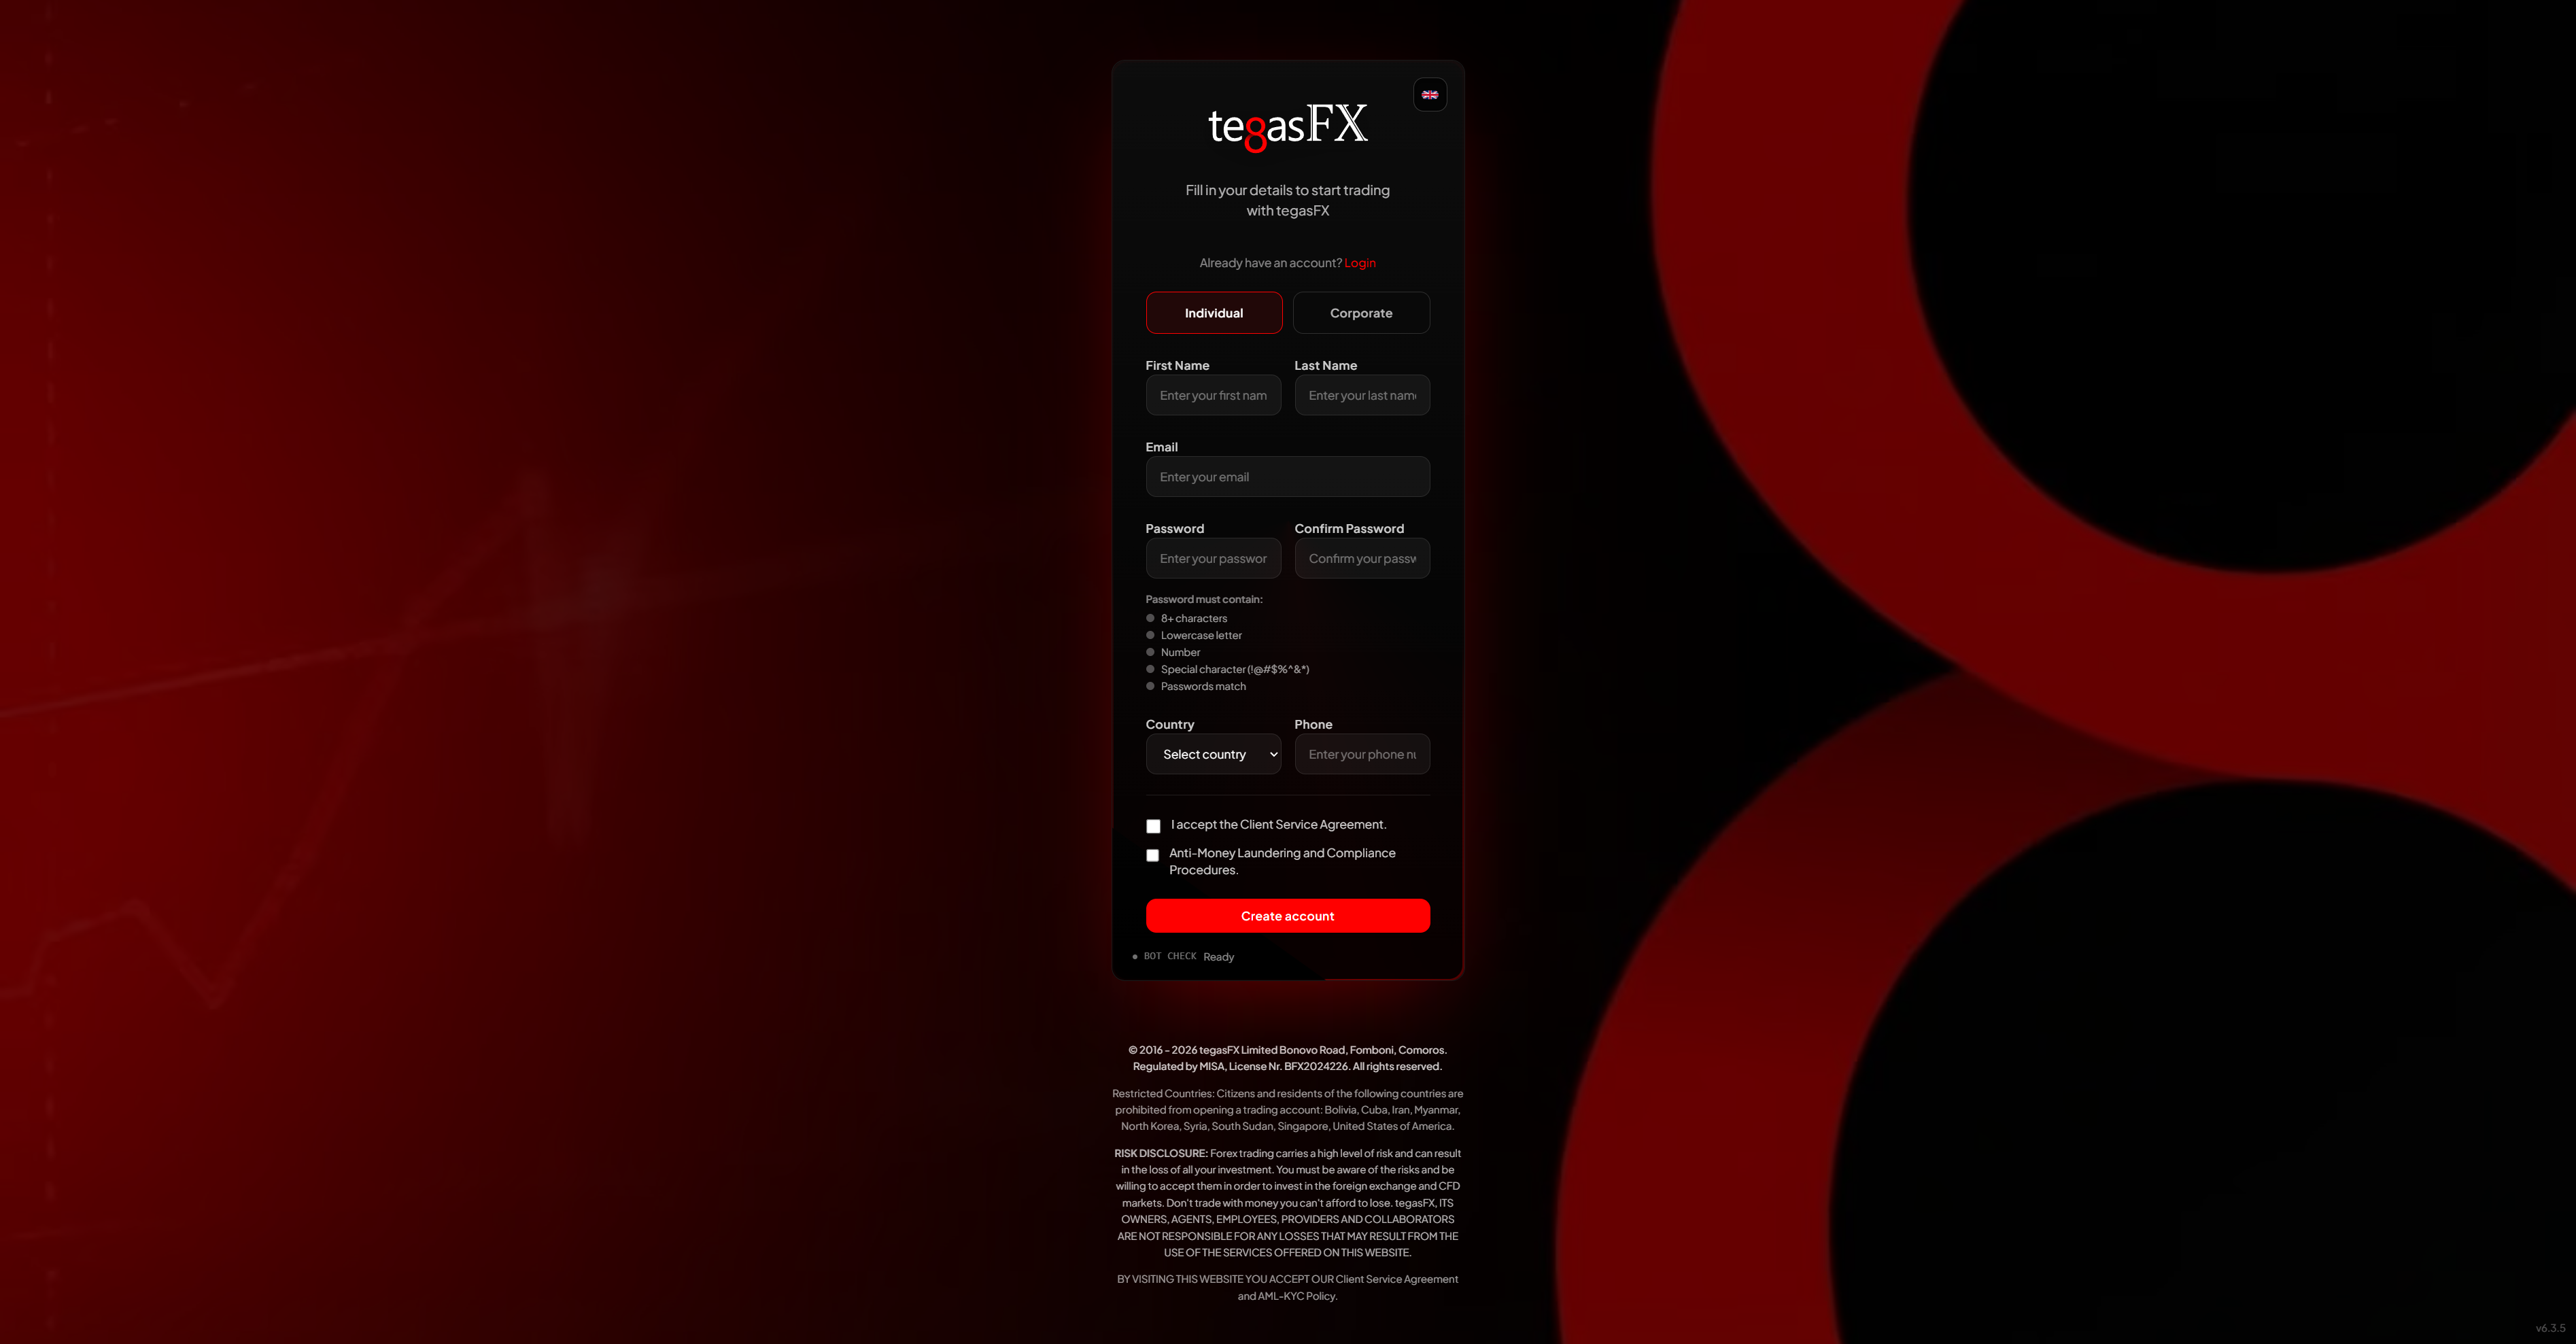
Open the registration link your Algovaro contact sent you. You'll land on the TegasFX registration page. Check the URL — you should see the partner ID, confirming the link is correct.
TegasFX registration form: choose Individual or Corporate Client, fill in personal data and login, confirm Anti-Money-Laundering checkboxes.
Choose whether to register as an Individual Client (private person) or Corporate Client (legal entity). Most customers register as Individual Client.
Then enter your personal data — important: the data must exactly match what's on your passport or national ID, because it's verified later in the KYC step. Select your country of residence, set your email address and a strong password. The password requirements are shown on the page.
Finally, accept the Service Agreement and the Anti-Money-Laundering compliance notices, confirm the captcha, and click Create Account.
TegasFX then sends you a confirmation email with a code. Enter the code on the confirmation page to verify your email address. If the email doesn't arrive within a few minutes, check your spam folder.
Tip: use an email address you check regularly — TegasFX sends the welcome email, later the KYC confirmation, and the login credentials for your funded account to this address.
2
First login
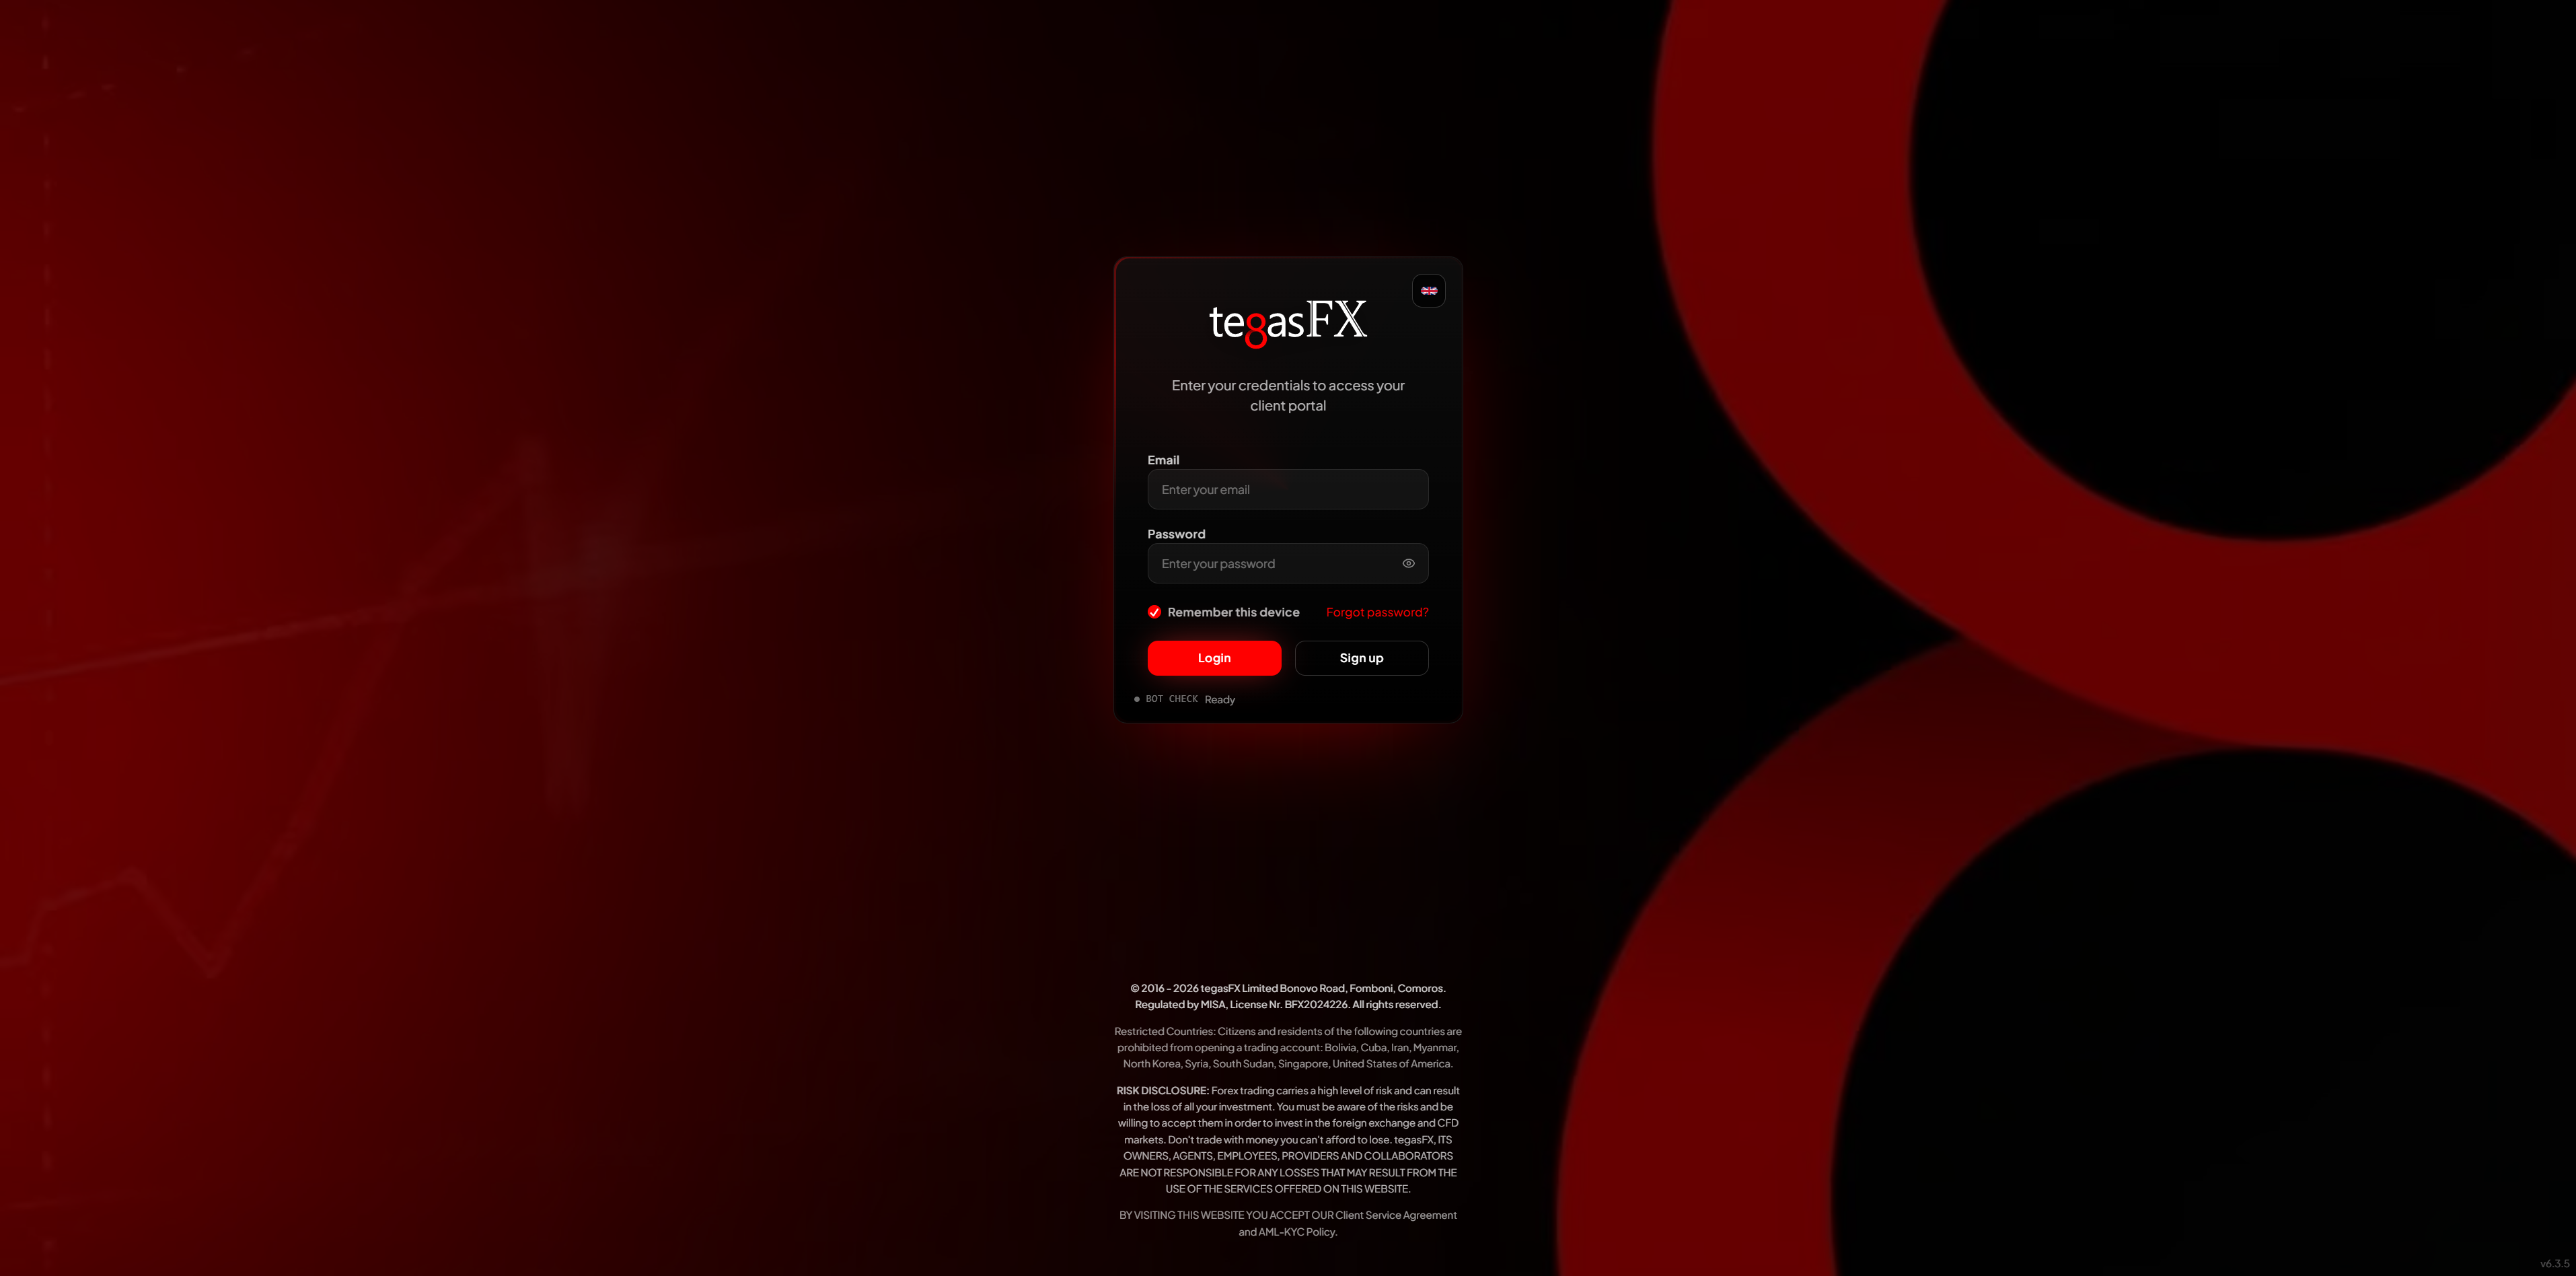
With the credentials you just set, you can now log into the TegasFX platform. Confirm the captcha and click Login.
TegasFX login page. Enter email and password, confirm the captcha, then click Login.
You'll land on your dashboard. You won't see any accounts yet — those appear after KYC verification is complete.
3
KYC verification: identity
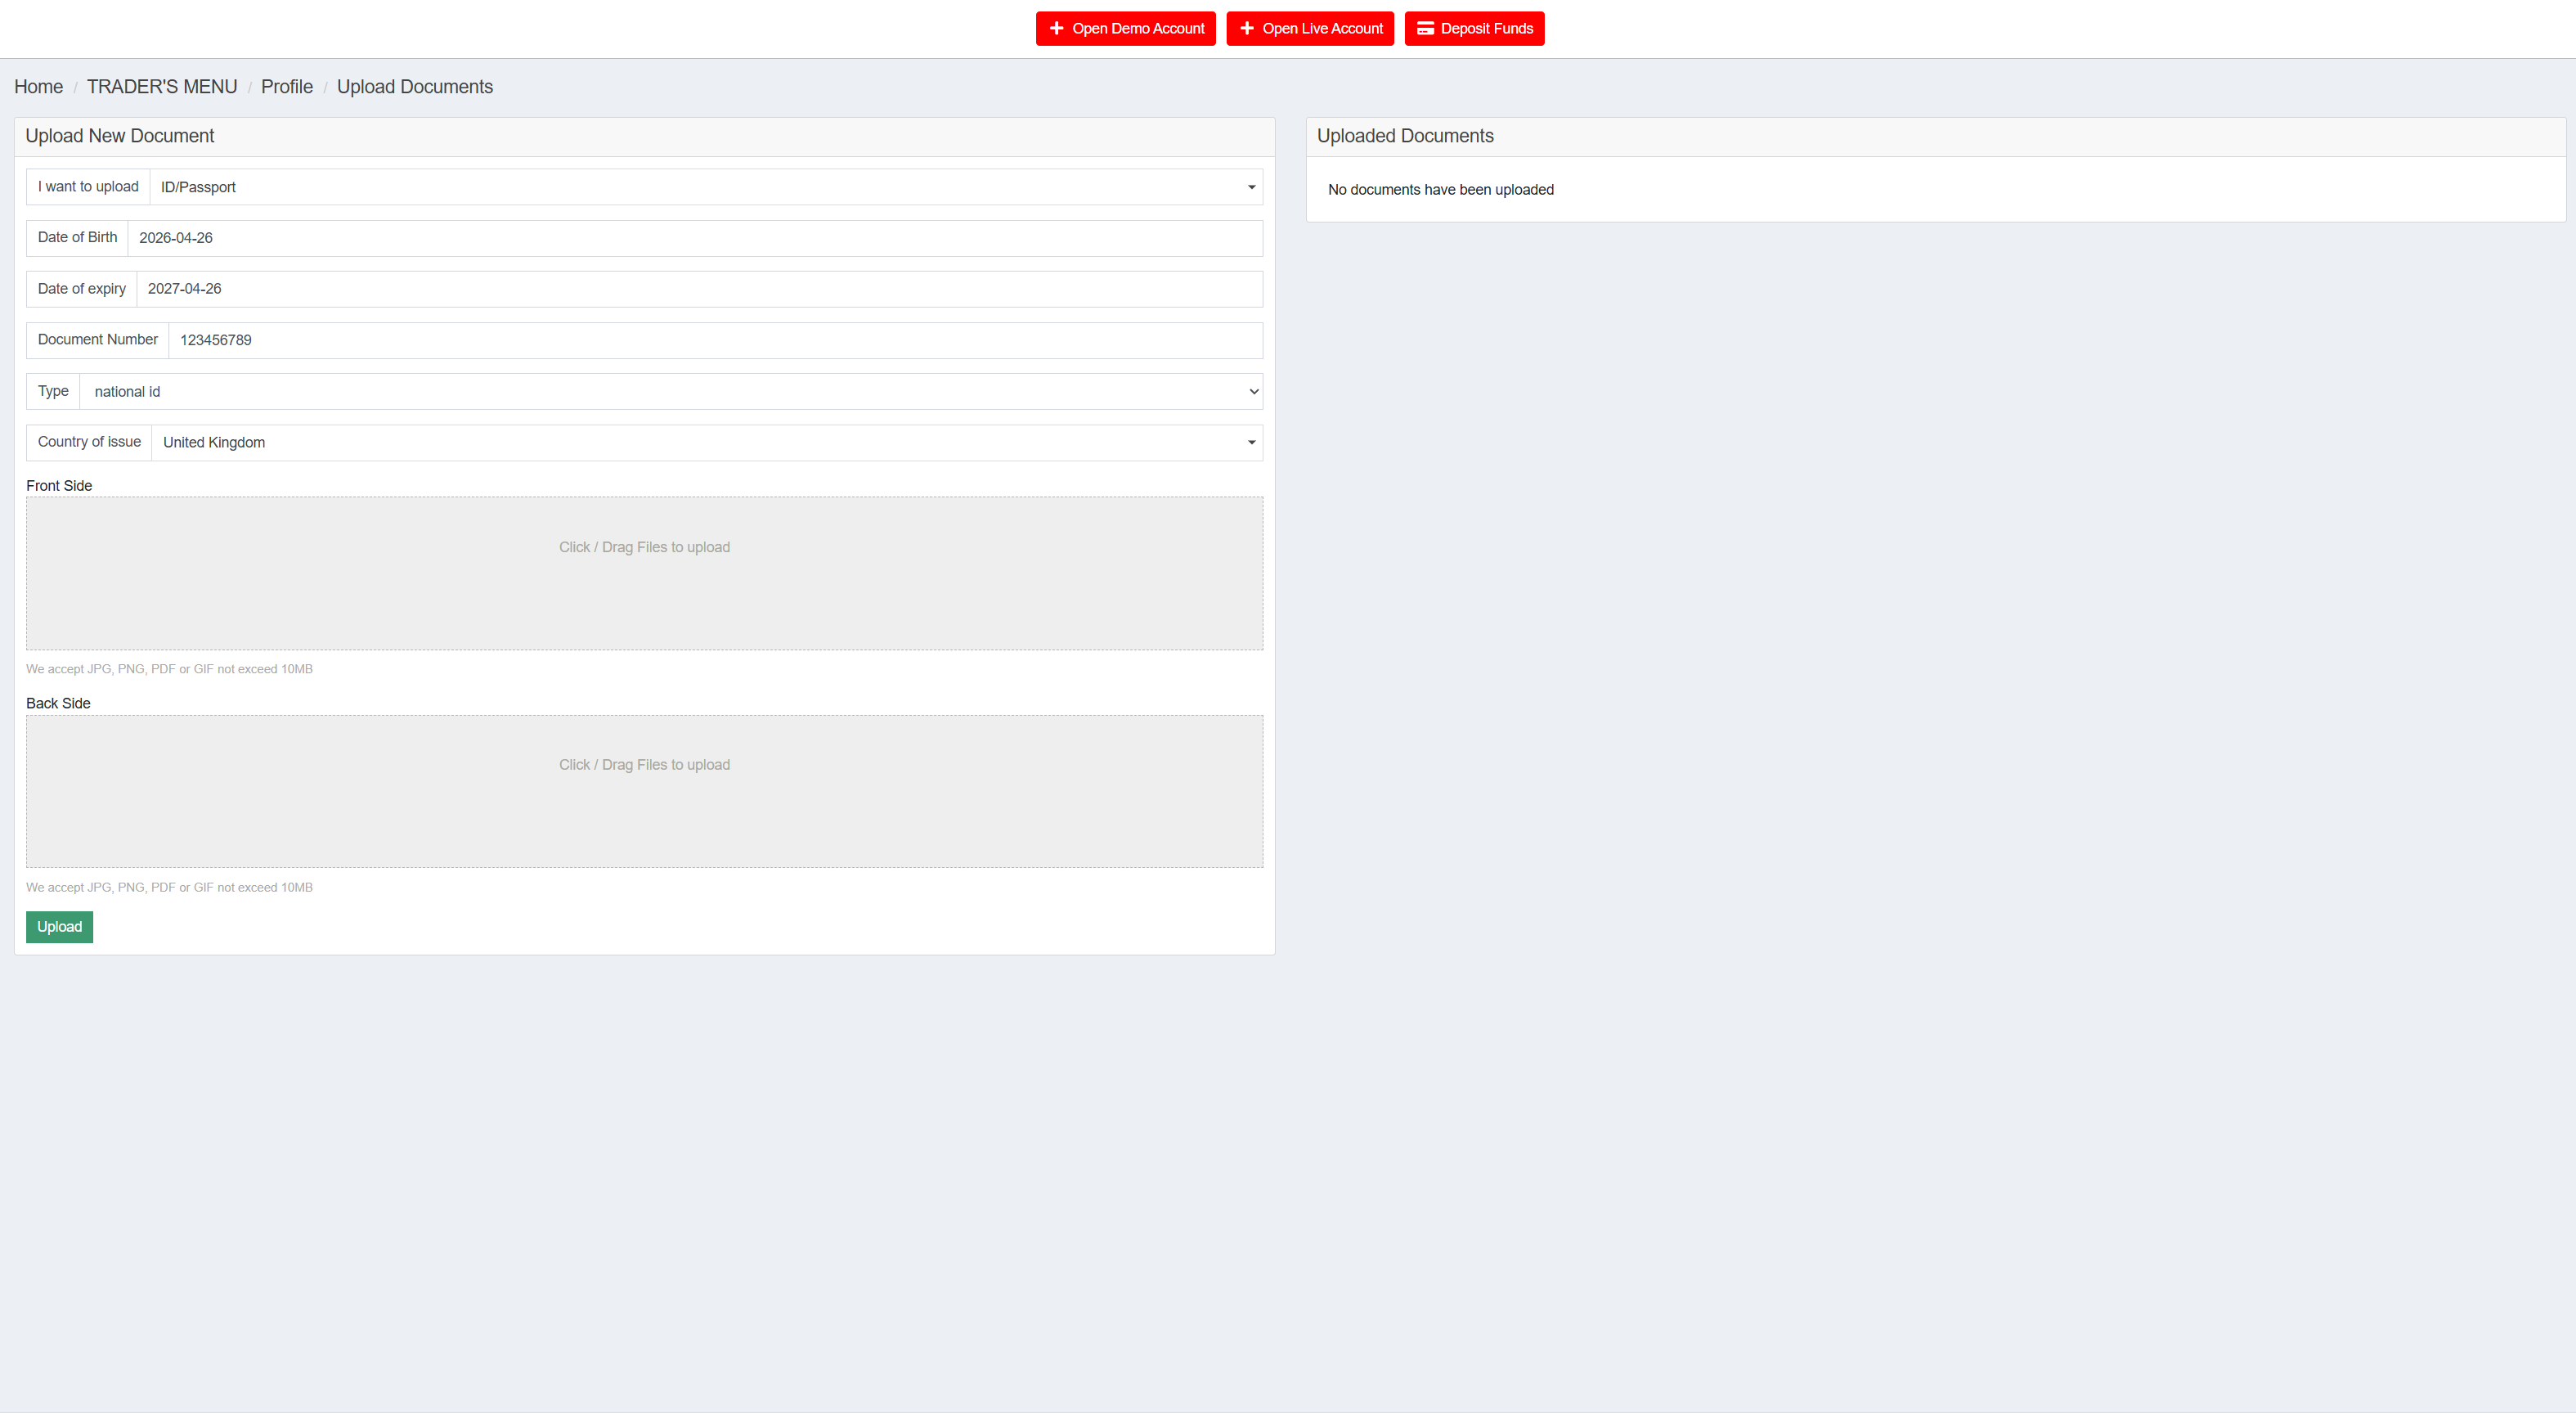
Before you can set up a funded account, you need to verify your account. In the left menu, navigate to Profile → Upload Documents. You need to upload two documents: an identity document and a proof of address.
Start with the identity document. In I want to upload, select ID/Passport and fill in the following fields:
Date of Birth — your date of birth
Date of expiry — your document's expiry date
Document Number — the number on your document
Type — choose passport or national id
Country of issue — the issuing country
KYC upload form for identity: I want to upload set to ID/Passport, plus Date of Birth, Date of expiry, Document Number, Type, and Country of issue. Attach Front Side and Back Side via file upload.
Then upload the Front Side of your document, followed by the Back Side — typically only the personal-data page on a passport. Accepted formats: JPG, PNG, PDF, or GIF, max 10 MB per file. Click Upload.
Tip: use a sharp, fully visible photo with good lighting. Blurred or cropped images are rejected, which extends the KYC waiting time.
4
KYC verification: proof of address
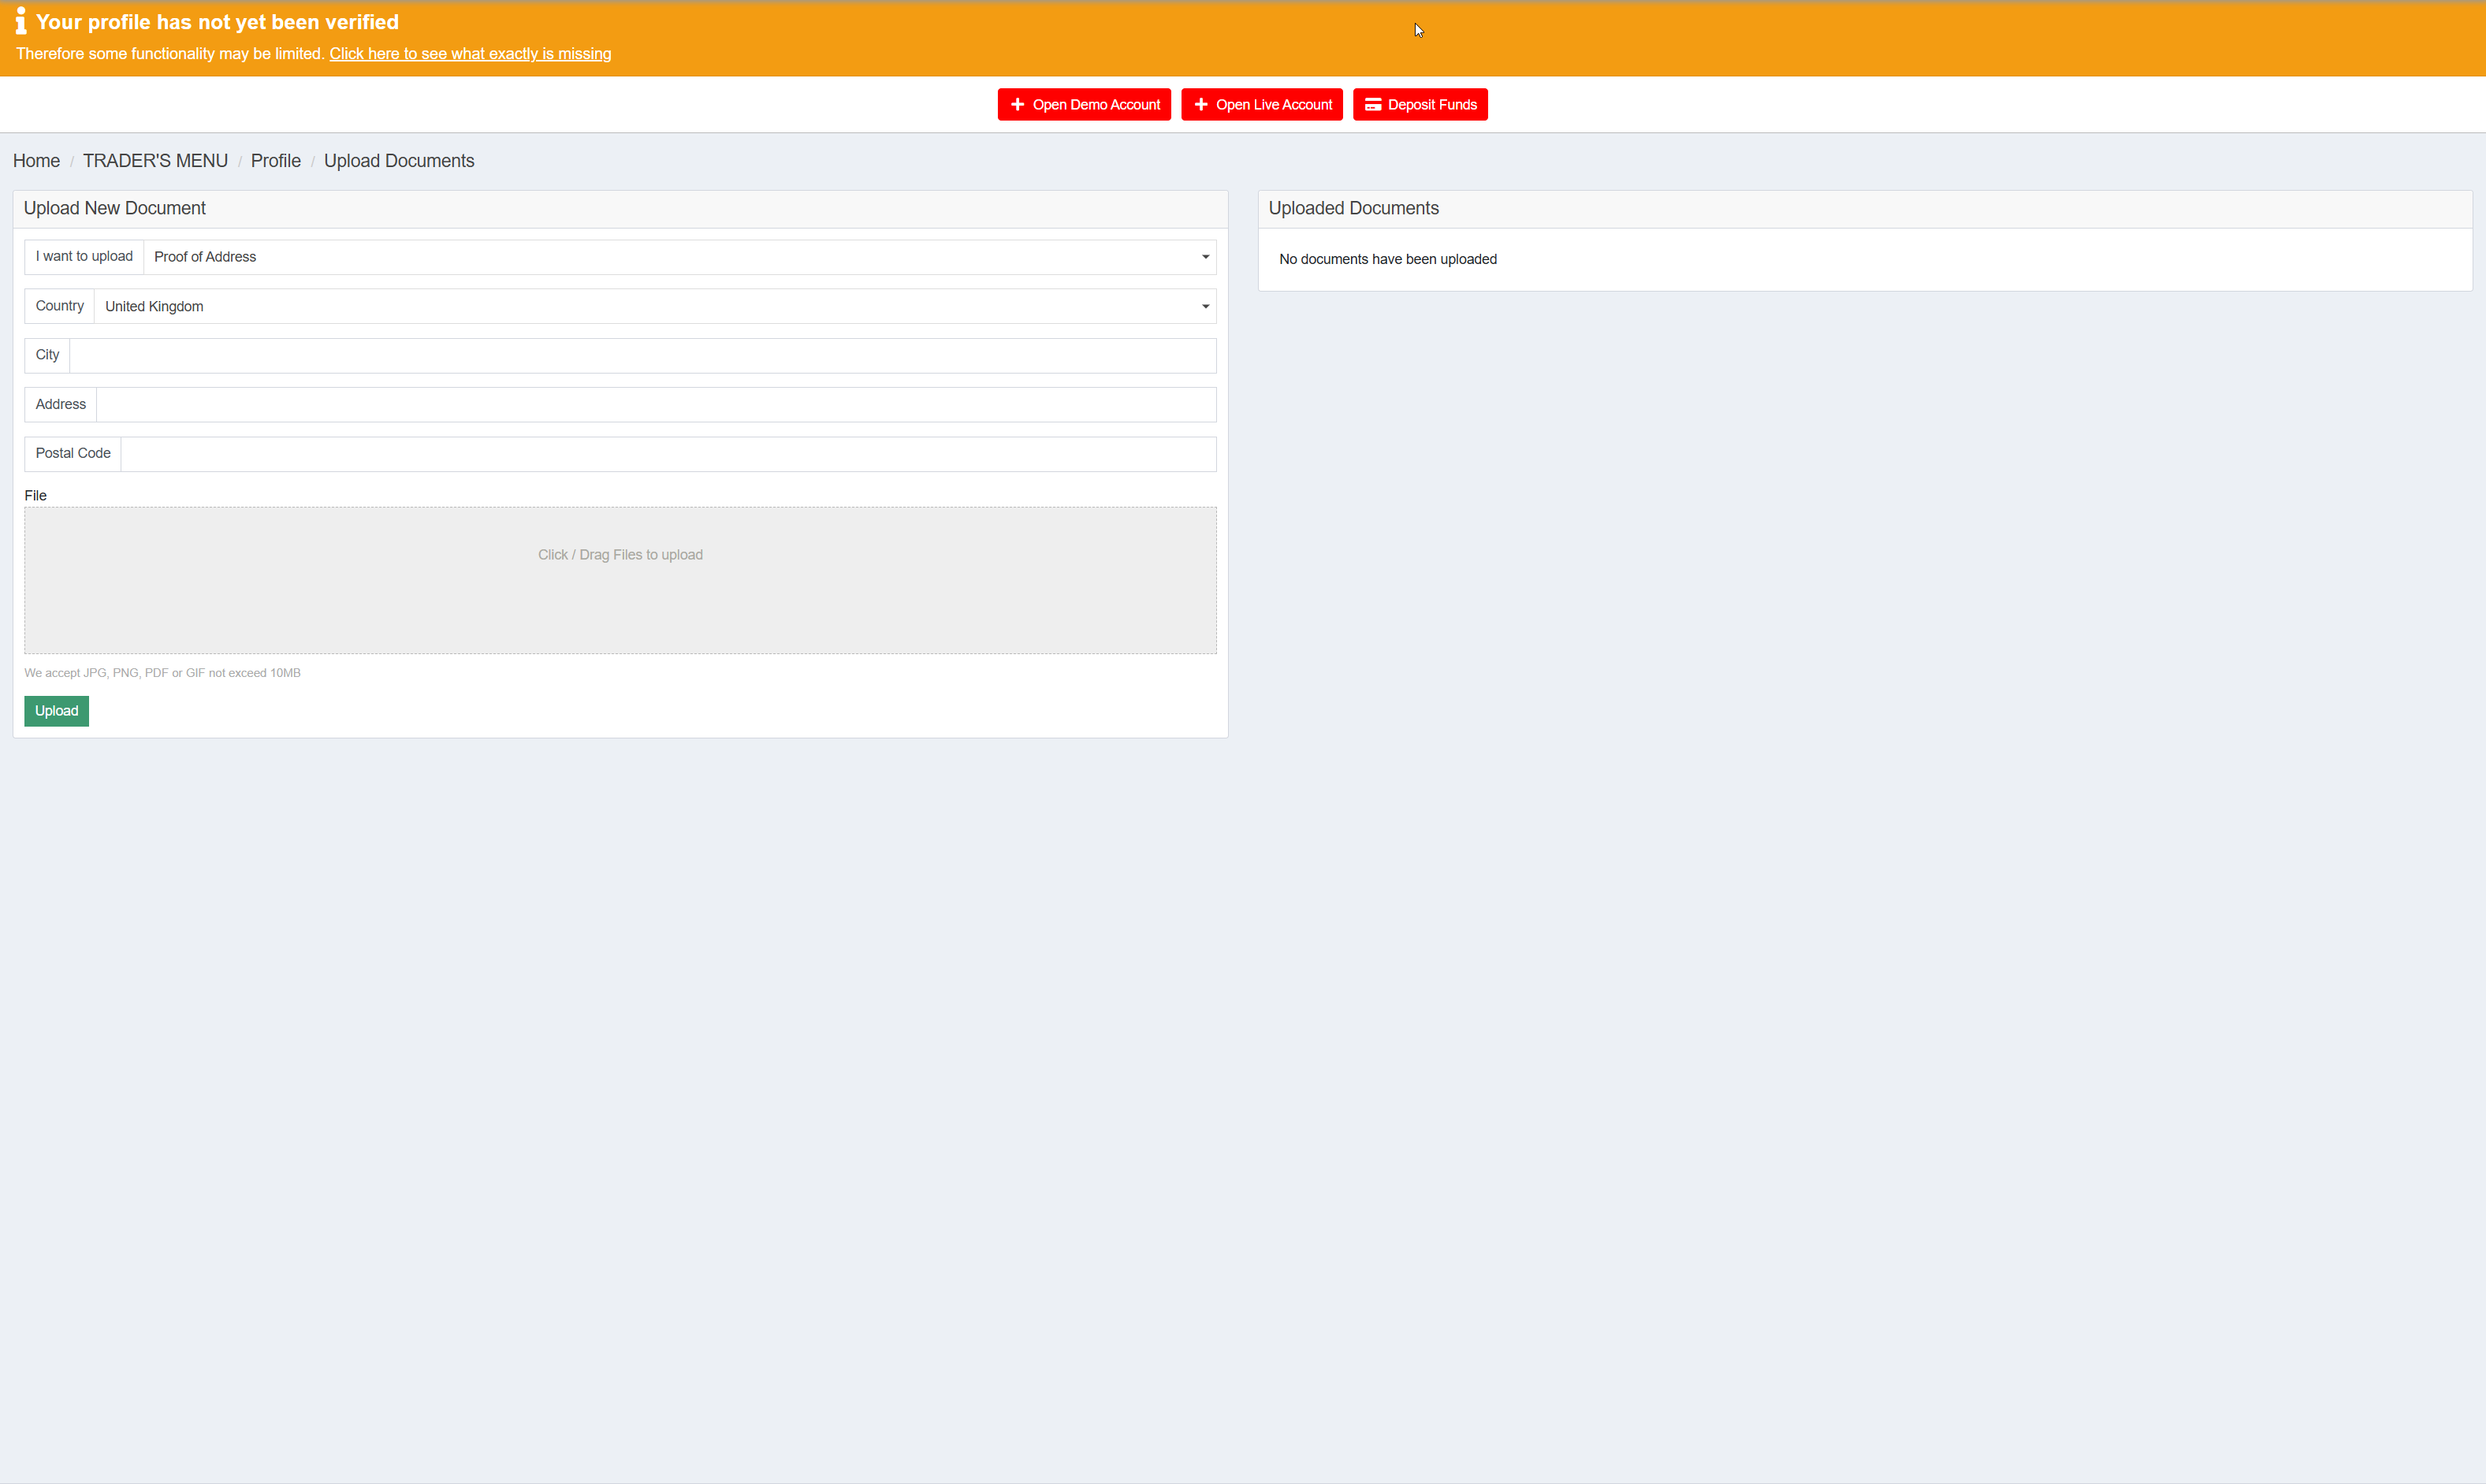
In the same area (Profile → Upload Documents), now switch the I want to upload selection to Proof of Address. Accepted are gas, electricity, internet bills or a bank statement — what matters is that the address on the document exactly matches the address from your passport and the document is no older than three months.
Upload form for the proof of address: enter Country, City, Address and Postal Code — the input must exactly match the address on the uploaded document.
Upload the document — same format and size requirements as for the identity document (JPG, PNG, PDF or GIF, max 10 MB). Click Upload.
In your overview on the right side of the page, you can see the status of both documents. Both should subsequently be marked as approved. You'll also receive an email confirmation once TegasFX has completed the review — typically within a few hours to two business days.
If verification takes longer than two business days or if one of your documents is rejected, message your Algovaro contact — they have a direct TegasFX support channel who's often faster than the standard channel.
5
Deposit funds into your TegasFX wallet
Before you can purchase a funded account in the next step, you need to deposit the setup-investment into your TegasFX wallet. The funded-account purchase is later paid from this internal wallet — not directly with credit card or bank transfer in the purchase flow.
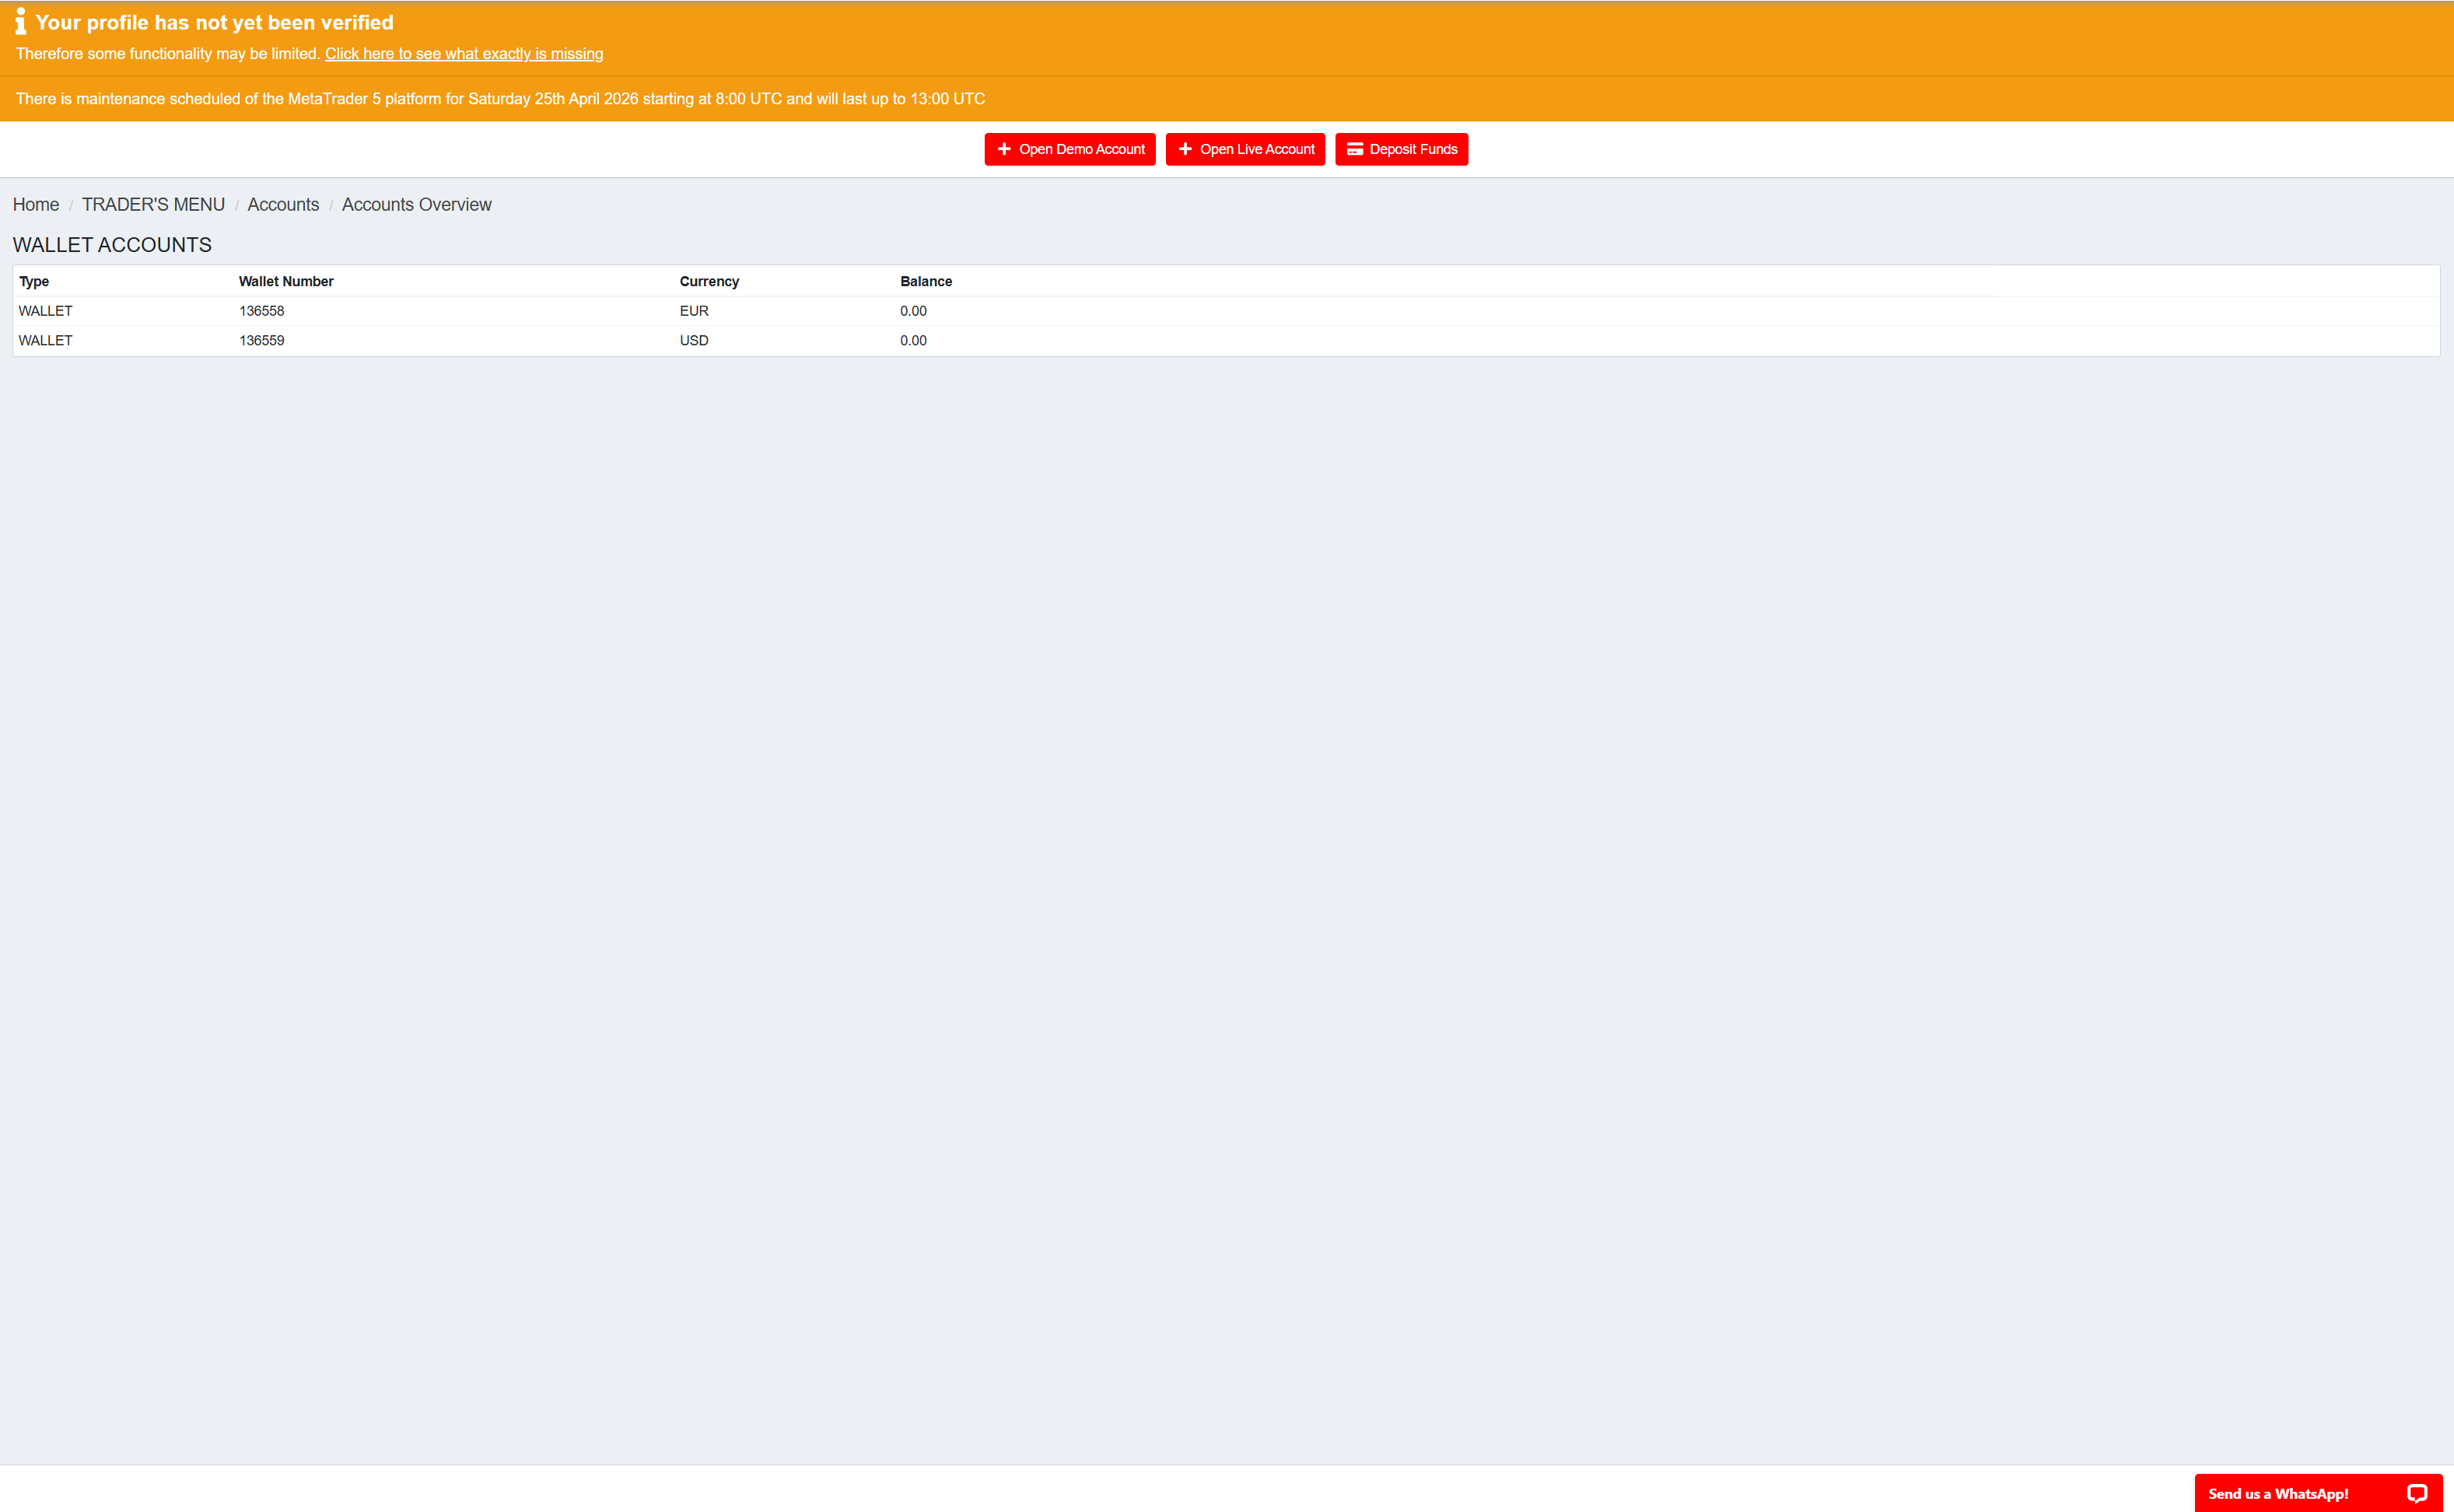
TegasFX automatically creates two wallets: one in EUR, one in USD. Since the setup-investment is denominated in USD ($299 for the $3,000 account, $499 for the $5,000 account, and so on up to $99,999 for the $1,000,000 account), deposit into the USD wallet. A deposit into the EUR wallet would have to be converted later — that costs unnecessary time and exchange fees. You can see both wallets under Accounts → Accounts Overview or by clicking the TegasFX logo in the top left.
Wallet overview at Accounts → Accounts Overview. The two automatically created wallets — one EUR, one USD. The USD wallet is the target for the deposit.
TegasFX offers four payment methods: bank transfer to DBS Bank in Singapore, crypto (USDC or USDT), card payment (VISA, Mastercard, Apple Pay, Google Pay), and Volet. Which method works best for you — and the exact click-by-click steps with screenshots — are in the separate deposit tutorial:
Detailed instructions per payment method
The deposit tutorial shows the TegasFX internal steps for each of the four methods with pros and cons, the Algovaro recommendation by setup size, and troubleshooting per method.
Once your wallet is sufficiently funded, navigate via the left menu to INSTANT FUNDING → Funded Accounts. You'll see an overview of the available ALGOVARO accounts — Funded Classic (10% DD limit) and Funded Scaled (20% DD limit), nine tiers each:
Which packages are visible in your TegasFX UI depends on the backend state. Funded Classic has been active for a long time. Funded Scaled is currently being rolled out on the TegasFX platform — if you only see Classic packages (10%) in your UI and want to book Scaled (20%), write to your Algovaro contact — they will manually arrange the desired Scaled package via TegasFX support.
INSTANT FUNDING → Funded Accounts: the available ALGOVARO packages. Classic with 10% DD limit is shown in the screenshot; Scaled packages (20% DD limit) appear with the corresponding tag once they are activated in your UI.
Algovaro works on a uniform setup-investment principle within each variant: 10% of the traded capital for Classic, 20% for Scaled. Up to 90% of the setup-investment is refundable when you return the account — there's no minimum holding period. Your maximum risk is capped at the setup-investment itself; you don't deploy your own trading capital.
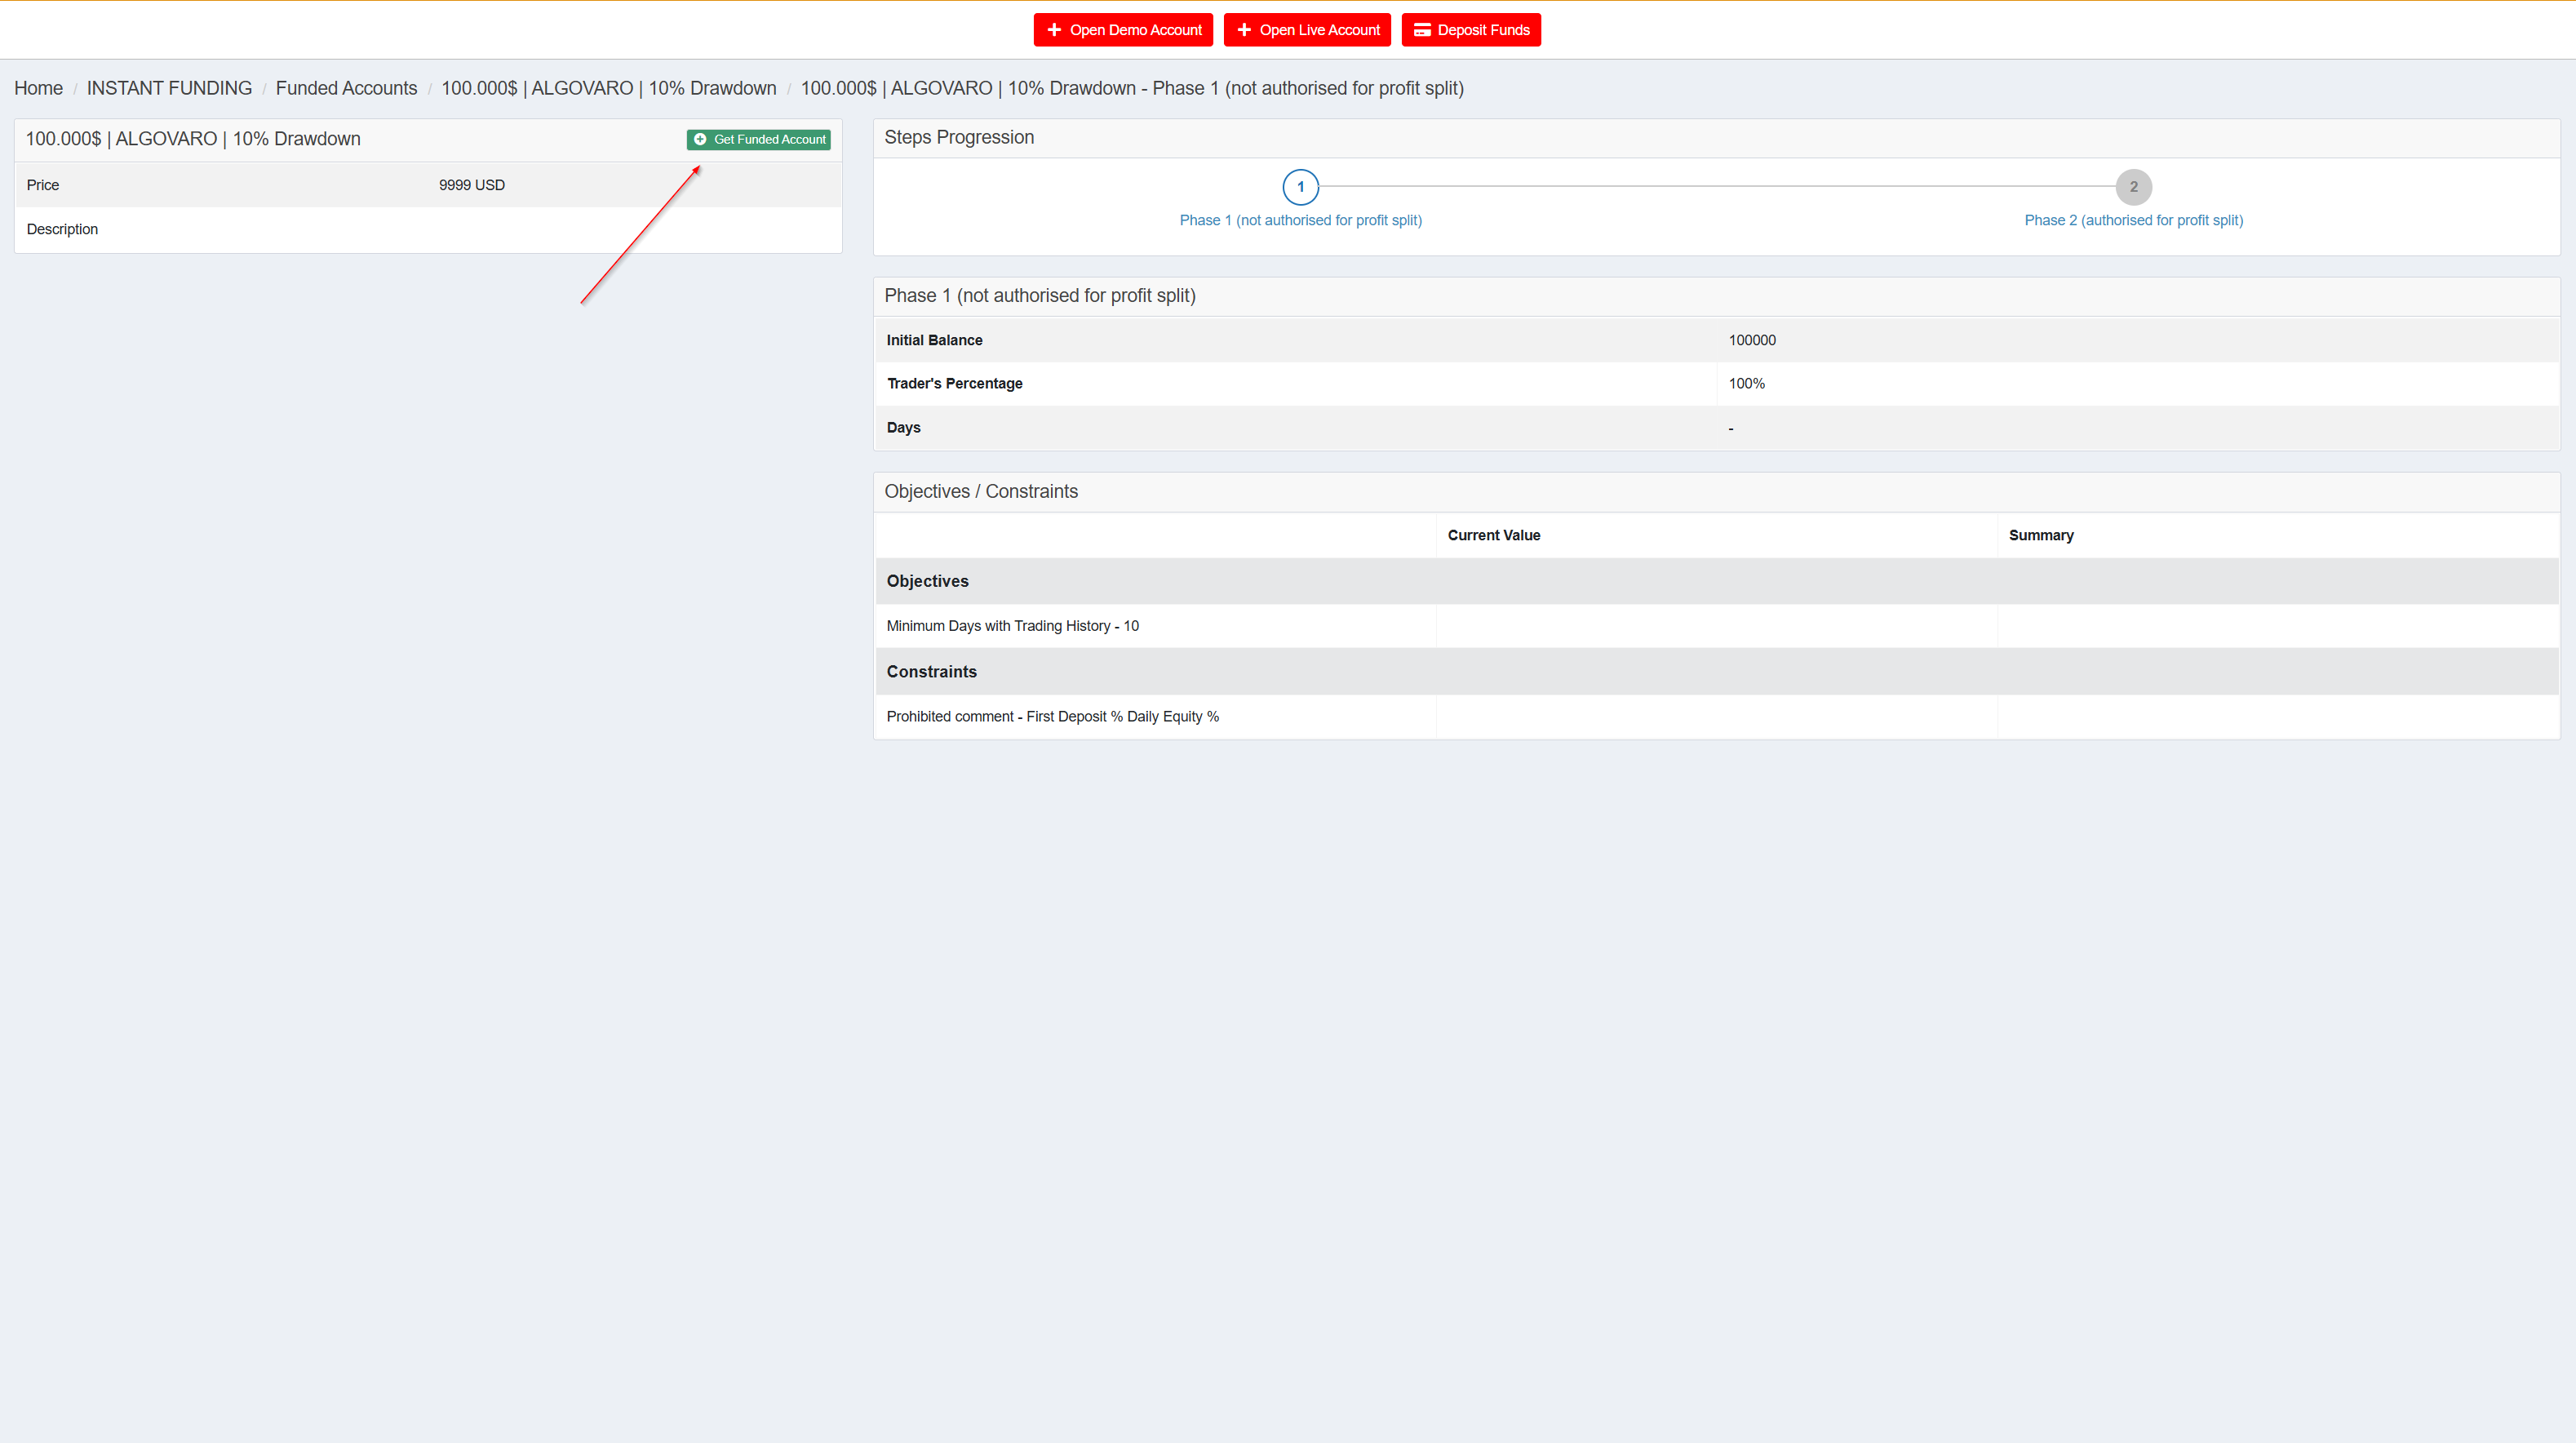
Which size fits you is your decision. If you're unsure, the initial call with Algovaro is the right place to discuss it together. Click on the account you want to choose — you'll land on the detail page with the phase conditions. There you'll see the green Get Funded Account button at the top right.
Detail page for a funded account: Steps Progression with Phase 1 / Phase 2, Initial Balance, Trader's Percentage and Constraints. The green Get Funded Account button at the top right starts the 3-step purchase wizard.
Phase 1 and Phase 2 — what that means: Every funded account starts in Phase 1 (not authorised for profit split). In this phase you build a minimum trading history of 10 days before Phase 2 unlocks. Phase 2 is then authorised for profit split — only from then on are profit withdrawals from the account possible. This fits the Algovaro logic: cash-flow withdrawals from the funded program are only meaningful from the tenth trading day onward anyway.
Click Get Funded Account. You'll enter a three-step wizard:
Select Account — choose the trading account from which you want to buy the funded account (this is linked to your wallet in the background). Optional: enter a promo code. Click Continue.
Application — summary of the order data: chosen account size, setup-investment amount, any promo-code discount. Review the data and confirm.
Confirmation — final confirmation. With the click on Confirm, the setup-investment is charged from your TegasFX wallet and the funded account is created.
You'll receive two emails from TegasFX:
A purchase confirmation with the details of your setup
A login email with the credentials for your new trading account — you'll need these credentials in the next step for the copy connection
Performance fee — good to know for the copy connection: a 25% performance fee is charged on every net profit — you keep 75%. After a loss, no fee is charged again until the account exceeds its previous high. This calculation runs automatically in the background — you don't need to set anything up for it.
Final step: copy connection
Your TegasFX account is set up, KYC verified, and the funded account activated. Now only the connection between your account and the Algovaro trading system remains.
Your Algovaro contact has sent you the right connection link — separately for standard and funded accounts. Follow the instructions in the next tutorial:
The most common stumbling blocks in TegasFX setup:
KYC documents are rejected. Usually because of image quality (too blurry, too dark, cropped) or because the address in the proof of address doesn't exactly match the passport address. Re-upload or message your Algovaro contact — they can escalate to TegasFX support.
Welcome email doesn't arrive. Check the spam folder first. If still nothing: some email providers block TegasFX emails by default. Message your Algovaro contact, they have a workaround.
Wrong partner ID in the link. If your link doesn't show an ID, or your account wasn't attributed to Algovaro after registration, message your Algovaro contact immediately. Subsequent attribution is possible but must be actively triggered through TegasFX support.
Issues during the wallet deposit. Method-specific stumbling blocks (bank transfer doesn't arrive, crypto on wrong network, card declined, Volet authentication fails, wrong wallet deposited) are covered in the deposit tutorial troubleshooting.
For anything else: a quick email to your Algovaro contact. They'll help directly.